

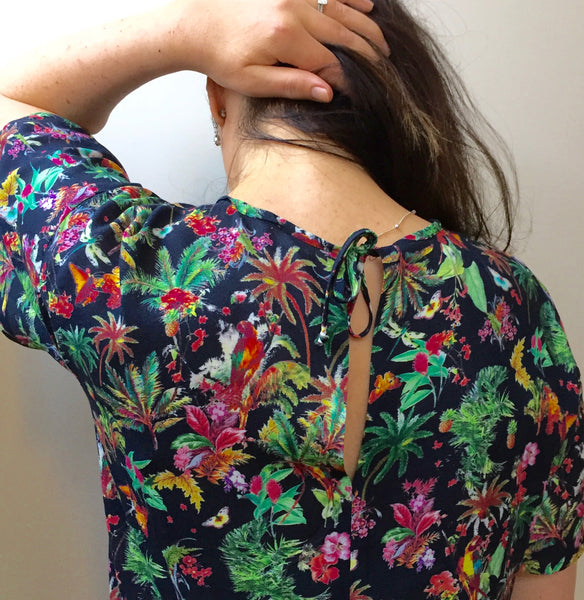
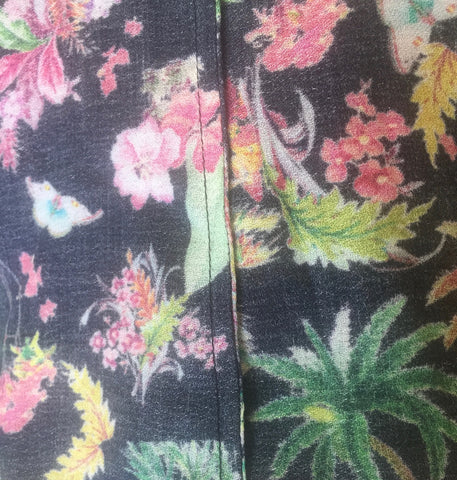
I really wanted another Willow in my closet. Something more casual and something that said "spring". Of course, nothing says "spring" like a pretty print. BUT I'm not a huge print girl. So I hewed and hawed at the pretty palm and pineapple and butterfly print at Blackbird Fabrics. I went back regularly, put it in my cart and then abandoned it. But, sewing is about challenging yourself, so I finally went for it and clicked "BUY"!

And so here we are; sewing a Willow with French seams in a pretty print. Why French seams? Because the lovely viscose crepe I bought is quite light and frays a bit. French seams are a great option for lighter blouse fabrics. They give a lovely clean finish when serging alone can't do all the work.
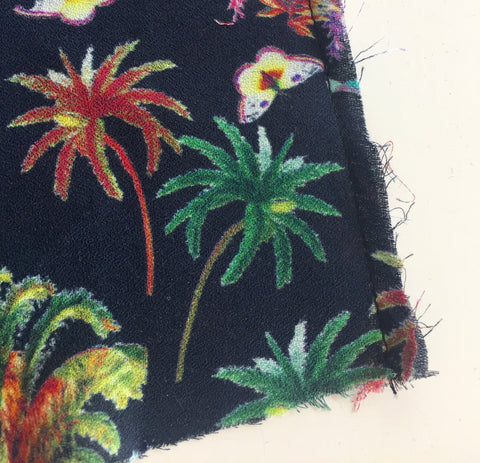
I cut a size Small in the Willow and required only a meter of fabric. The fabric looks like it has a directional print but I fit my pattern in with ease and had room to spare.
BEFORE cutting, I had a few pattern adjustments...
One, the Willow has a very wide decorative centre back seam (3cm finished) meant to be sewn on the outside of the garment. I reduced the centre back seam to a 1cm seam allowance because I planned to sew it to the inside of the garment. I wanted the print to speak. Plus, because of the print I knew the decorative outside seam would be lost anyway.
Second, I reduced the sleeve volume by 18cm/7" in the hem sweep and 4cm/1.5" in the gathering because, once again, I wanted the print to be the centre of attention and not the sleeve.
On with the SEWING....
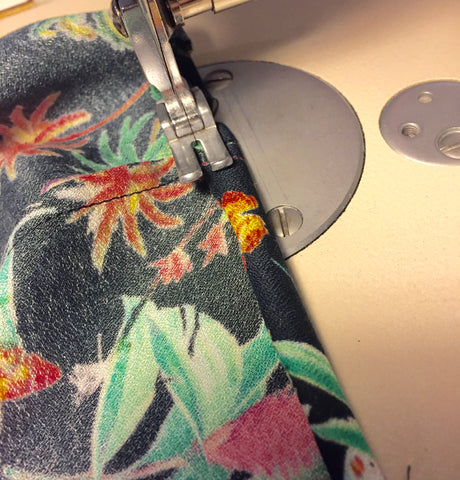
1. Serge centre back seams, then with RIGHT sides together sew the centre back seam starting at the notch, 15cm/6" down from the neckline.
2. PRESS centre back seam open.
4. TRIM seams to 0.25cm. This way you have zero chance of having the seams frayed edges poking out of your french seam.
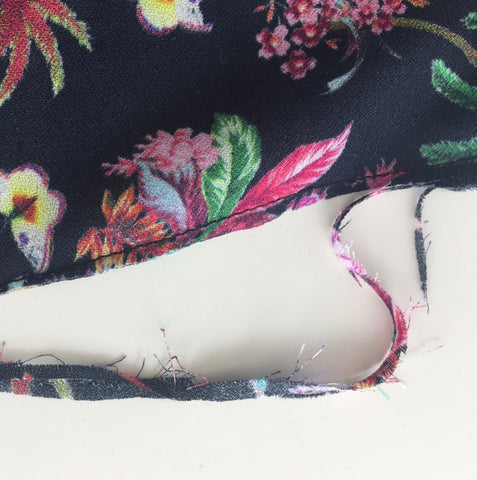
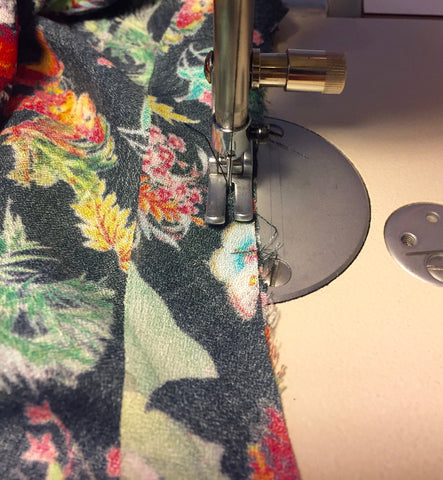
5. PRESS the seam to one side. Doesn't matter which side. You're just creating a crisp seam edge.
6. Flip your top inside out and press your side seams and shoulder seams.
7. With RIGHT sides together, do a second stitch, 0.5cm from the edge on your side seams and shoulder seams. You just created your French seams!
8. Press your French seams, sides and shoulder seams, to the back of your top.
9. I did the same process for my sleeve seam.
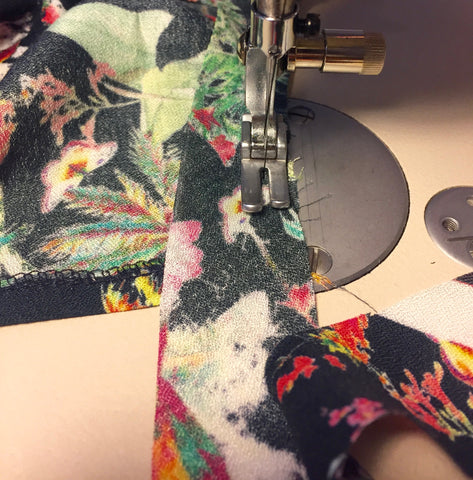
10. Double Rolled Hem... apparently that's an "industry" term... so here it is demystified. The Willow has a 1cm double roll hem, which basically means you roll the hem 1cm once, and again another 1cm... thus the double roll. Edge stitch. Repeat on the sleeve.
WHY double roll? Because it gives you a clean looking hem. No fraying bits, and it also adds a little weight to your blousing fabric. Makes the garment hang better.
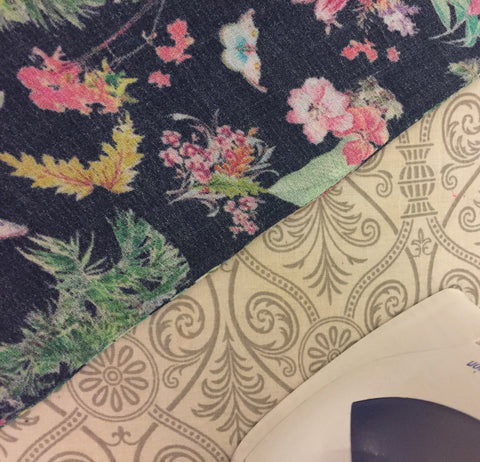
11. BIAS neck finish. I like to start sewing my bias from center front of the blouse toward center back. And repeat the step again from center front to the other centre back opening.
RIGHT side of the bias facing the WRONG side of the top... You're sewing the bias binding from the inside of the top and pressing and finishing on the outside of the top.
12. Press your binding up, and them over the seam, folding carefully under to create your bias finish. You are creating a double fold bias stip. Continue the fold and press into the ties.
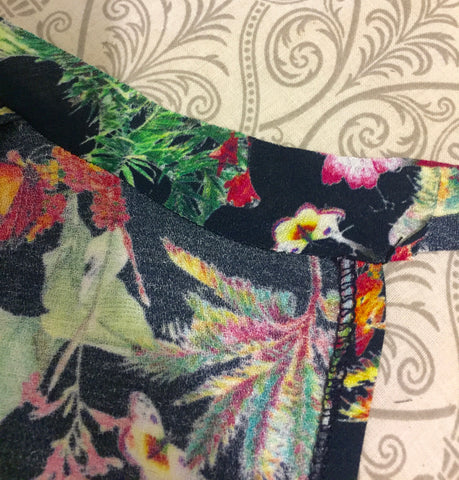
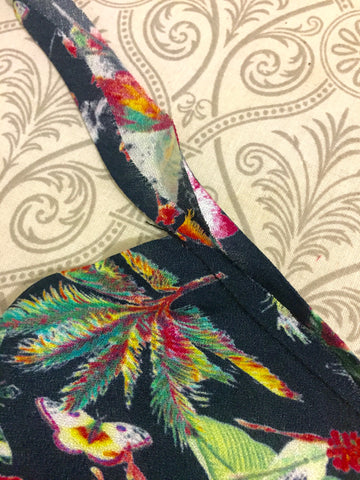
13. Topstitch your bias binding to the front of your top. Start at centre front and work your way to the center back ties.
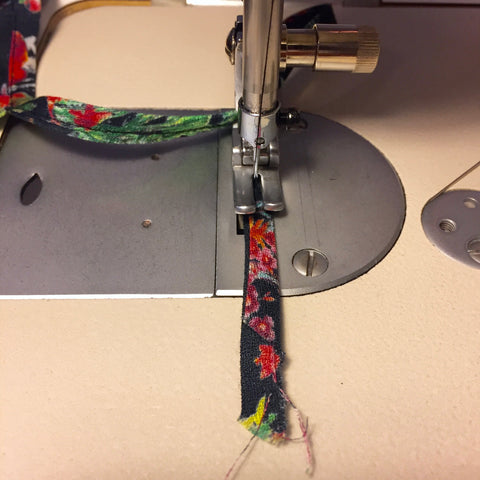
14. Tie off your ends and diagonally snip the raw edge.

15. SLEEVES... your sleeves are sewn in just as instructed in the Willow package. Because there is clipping of a seam allowance, the sleeve can't be put in with a french seam. Serging the finished seam is perfectly fine. That's how I finished my seams in the Willow.
Well, I hope this has you a little inspired to play with your seams and perhaps add a new print to your wardrobe.
Happy Sewing!
Joanna