
In a quest to have our sewing projects look more "professional" and less "home sewn", let's talk about serging, or overlocking seams. I have a very simple 2 step process for you. It's one of the very first things I was taught in school. If you already practice this, great! But for those who don't, here are your 2 simple steps to seam finishing that will make you smile every time you look inside your garment.
One...
When sewing garments with open seams serge with your fabric always facing RIGHT SIDE UP. If you stay consistent in only serging/overlocking with the fabric facing right side up all of your inside serging will look the same.
Two...
Serging of hems should ONLY be done once your garment is fully assembled. I know some sewing instructions ask for the hem to be serged while you are serging all the other seams, but that can lead to undesirable looking hems.
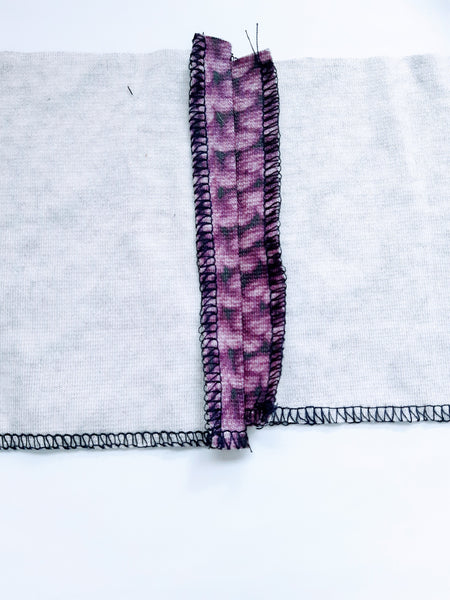
Serging any which way with hem serged prior to assembly.
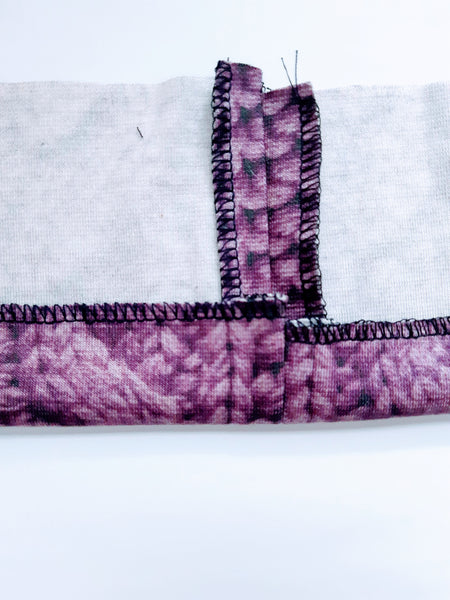
Finished hem look, when serged prior to sewing seams together.
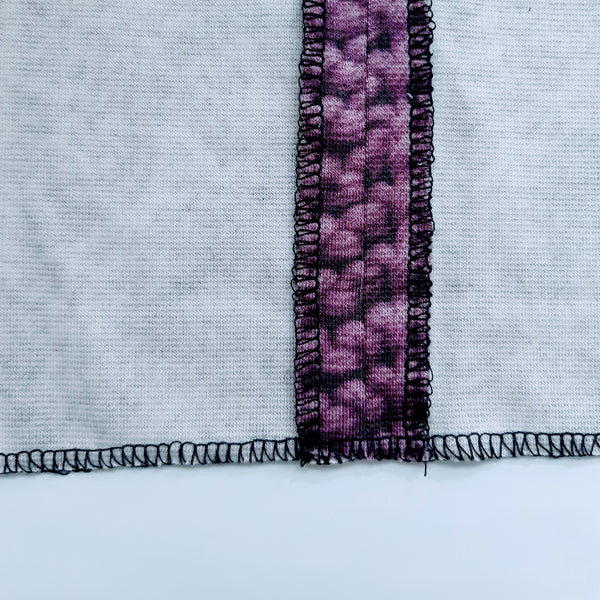
Serged seams with fabric facing up. Notice your seams on the inside of the garment will have the same looking overlock stitch. Hem was serged last, once the garment is assembled.
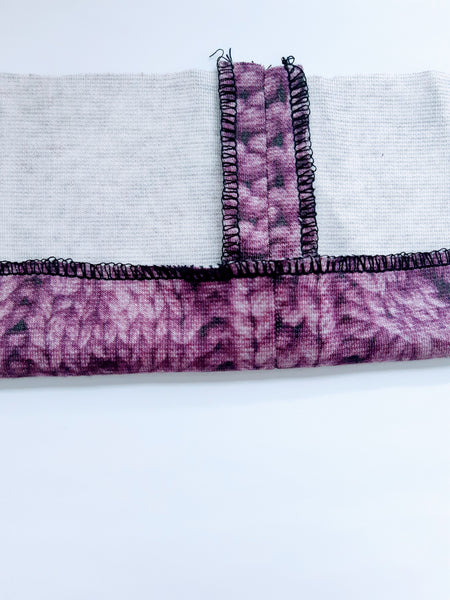
Your neat hem... when serged after you've sewn your seams. How easy is that? I hope you incorporate these easy steps into your next sewing project.
See you here next week for more Sewing 101.
Happy Sewing,
Joanna