To celebrate my soon to be launched first pattern, YIKES!, I though I'd show you how I use self made bias tape to finish a neckline exactly as my dress pattern will be finished.
Bias tape is a popular way to finish garments whether it be necklines, seams or even hemlines. You can use just about any fabric to create bias tape, just be mindful of the bulk it'll create once it's folded 3 or sometimes 4 times over. Purchased bias tape is ok too, but I find the traditional cotton tape a little too bulky.
When self fabric bias tape just won't work, especially if the fabric is thick to begin with, my go to fabric of choice for making bias is Bemberg lining, also know as cupro lining. It's a high quality Japanese made cotton lining. I haven't had much success trying to work with a polyester lining. For some reason I still found it too stiff to work with.
Shall we begin?

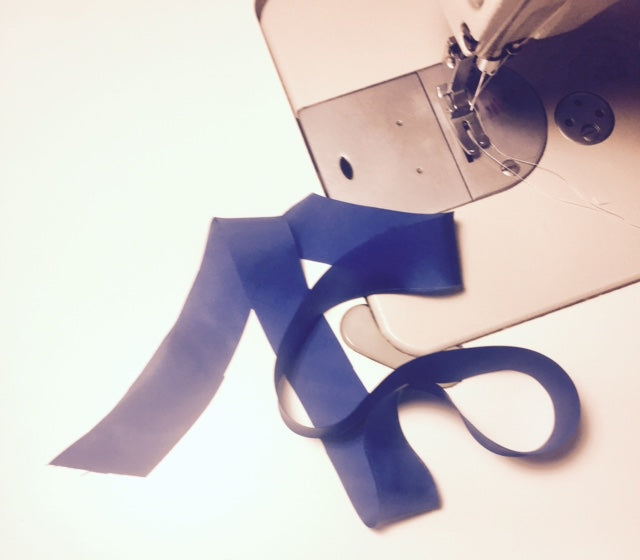
Ideally, your bias tape will be cut at a 45 degree angle to the selvage. This is your true bias. Truth be told, I always eyeball the angle and never have a problem with the bias not being stretchy enough. For this demo my tape is 3cm wide. For this application there is no need to pre measure your bias length either. Just make sure you have enough to go around the neckline.
This bias application is not visible on the outside of the garment. The end result will look like this:

STEP 1:


Applying bias to neckline.
Make sure one of your shoulders is not sewn up. Place bias right sides together with your garment starting at the open shoulder seam. It's ok if your bias extends past the shoulder seam, it can be trimmed later.
Stitch bias all around the neckline at 1cm seam allowance.
STEP 2:
Press bias tape up into neckline.
Edge stitch. Make sure to slightly pull bias and dress apart as stitching. This will "shrink" the bias and pull in the curve of the neck so you don't have a gaping neckline.

STEP 3:
Press bias over the seam allowance and into the dress.


STEP 4:
Fold the bias into the garment and edge stitch. Starting at the open shoulder seam stitch all the way around your neckline, folding the bias tape to the inside of the garment. If you follow the edge of the bias as stitching, you should have a perfect 1cm topstitch on the outside of your garment neckline.
Press your neckline.

STEP 5:
Close up your open shoulder seam. Start at the armhole and sew toward the bias binding at the neckline. This way it's easier to align the bias edged neckline and your presser foot is less likely to shift the thickness at the neck.

STEP 6:
Finish your inside should seam. Either zig zag or overlock. Press shoulder seam allowance to back of dress and stitch a small 4-6 stitch "stay stitch" at neckline to hold your shoulder seam in place.


I hope you give this finish a try on your next project. Its an easy and updated way to finish a neckline without fidgeting with facings. Keep in mind that even though this is a bias finish and my sample was in a knit, there is no give in the neck. This finish would not suit small/tight necklines.
Happy Sewing!