Hello Fellow Sewists! Back in January, I launched my newsletter. In it I said it was time for a fresh new way of looking at sewing for self. I wanted Fresh Press Patterns to be more minimal and individuality oriented. That only meant one thing; going back to my roots as a designer and pattern maker. I wanted to stop the chase of making more and more patterns and instead focus on pattern manipulation principals so that you at home can develop your own pattern changes. I wanted to give you the confidence of looking at a garment detail and saying, I can do that.
And so in keeping with my January promise, I'm answering your first request: "Joanna, I love your Willow top but I was done with ruffles of any sort at age 5!"

1. Using your size Willow, mark shoulder and armhole seam allowances. (1cm/3/8")
2. Trace out the Willow sleeve and mark seam allowances.
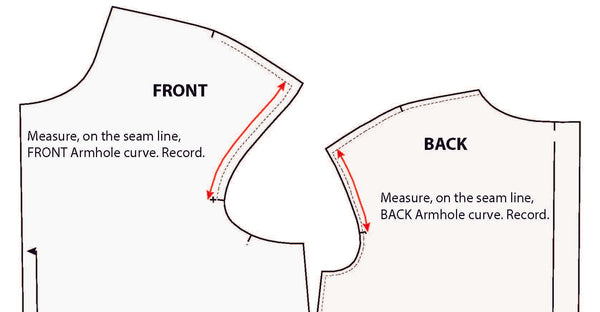
3. On your Willow bodice, right on the marked seam allowance, measure the Front armhole curve, as illustrated above. You're measuring from the notch to the shoulder seam at the seam allowance and not the edge of the pattern.
Record your front and back measurements.
4. Adding ease: Now that you have your armhole measurement, we need to add some ease for the sleeve to feel comfortable. ADD ½"-¾" ease to the front and back recorded measurements for a total ease of 1"-1 ½".
**Sturdier fabrics are harder to ease in as opposed to lighter ones like the linen I used for this top. Choose your ease amount with fabric in mind**
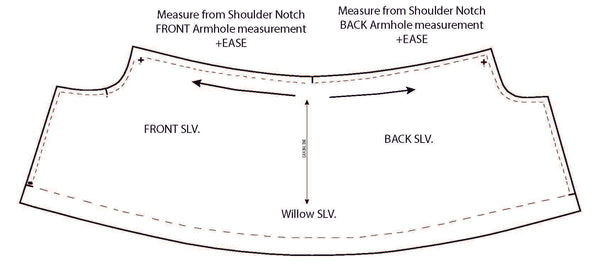
5. Take your armhole curve measurement with ease and, starting at the CENTER sleeve notch and measuring toward the armhole mark your new reduced measurement for FRONT and then BACK sleeve. See illustration above.
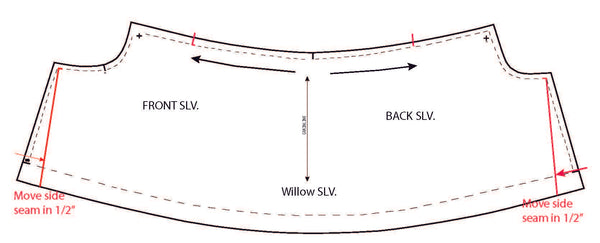
6. Reduce Sleeve width by ½"/1.5cm. Redraw your seam allowance of ⅜"/1cm.
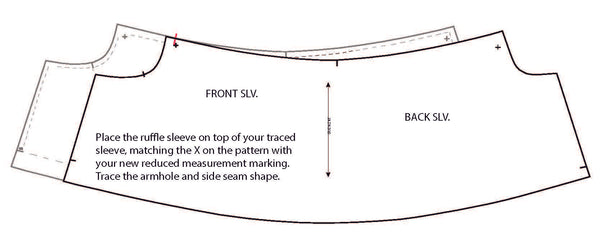
7. Place the old ruffle sleeve on top of your newly traced one, MATCHING the seam X point with the new sleeve width mark on the new sleeve. Trace the new armhole and side seam position.
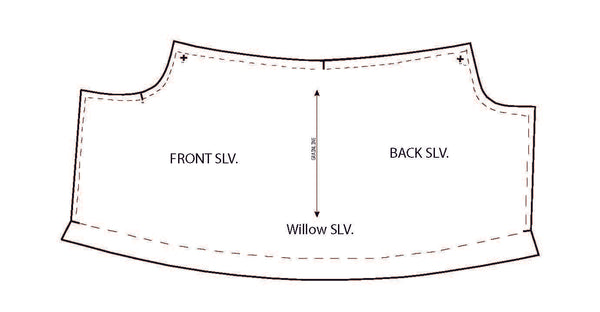
8. And this is how your new, reduced volume, Willow sleeve will look like.
I suggest shortening the sleeve by 1.5"/4cm as I did for this Willow, to make the sleeve look younger and less like a tube.

9. These are the measurements I used for my size SMALL top. Depending on your size you may want to reduce (smaller sizes) the above measurements by ⅜", or increase by ⅜" if you're sewing a bigger size. These measurements are not set in stone.
10. Cut apart the pattern at your new design line and ADD SEAM ALLOWANCES of ⅜"/1cm to each side.

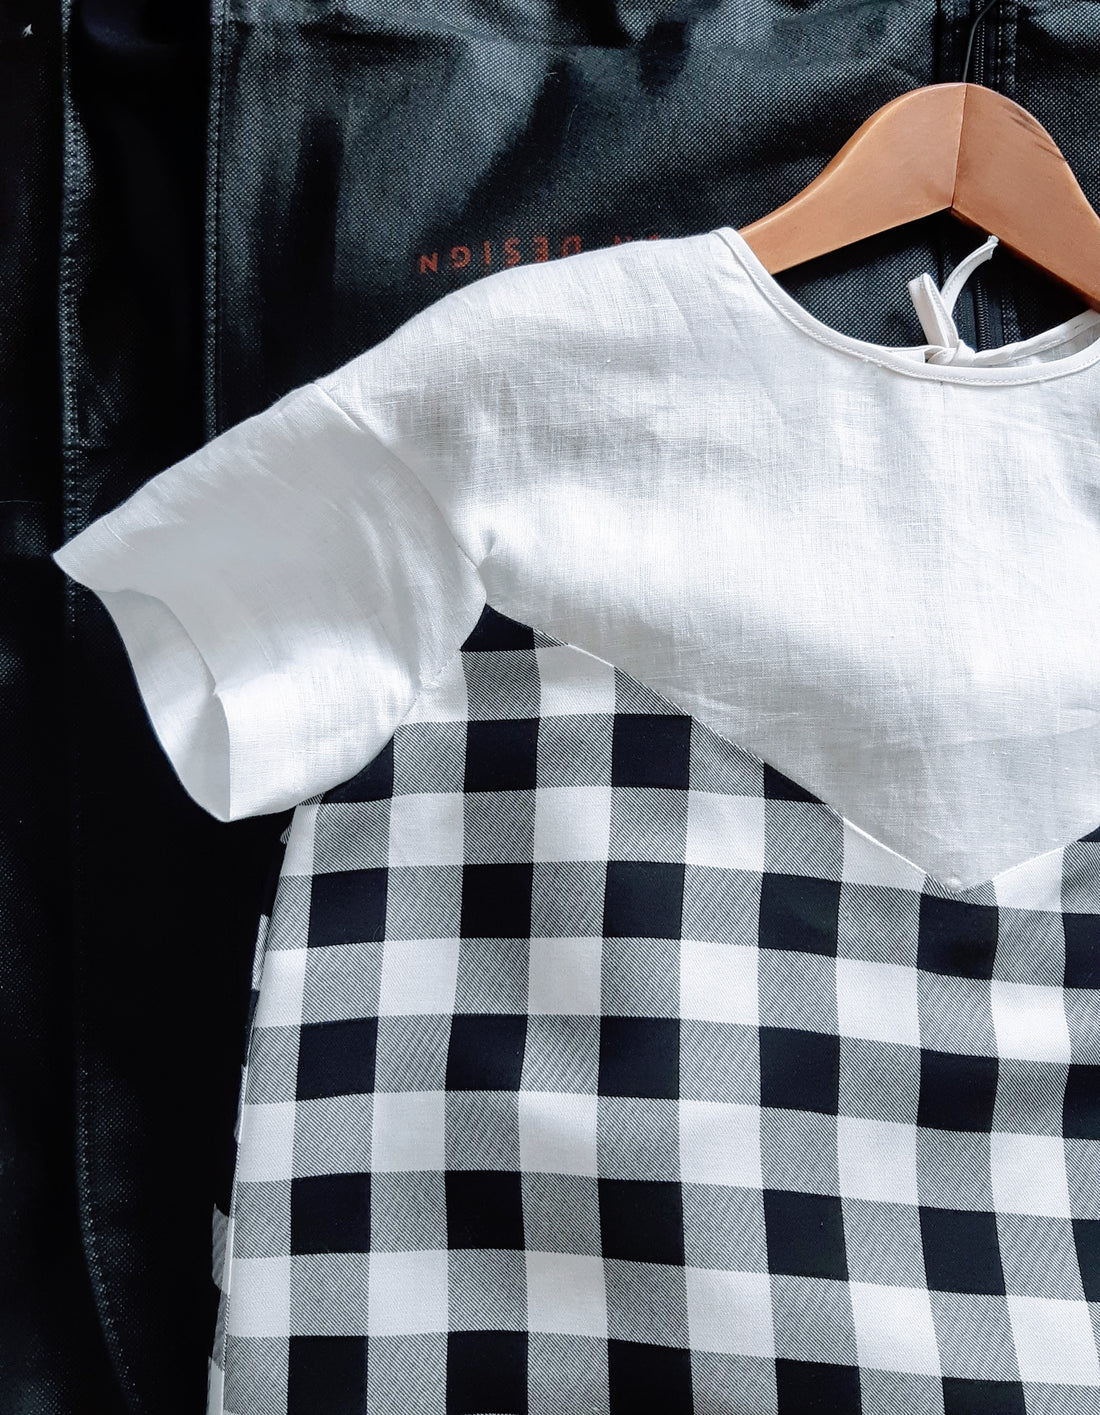
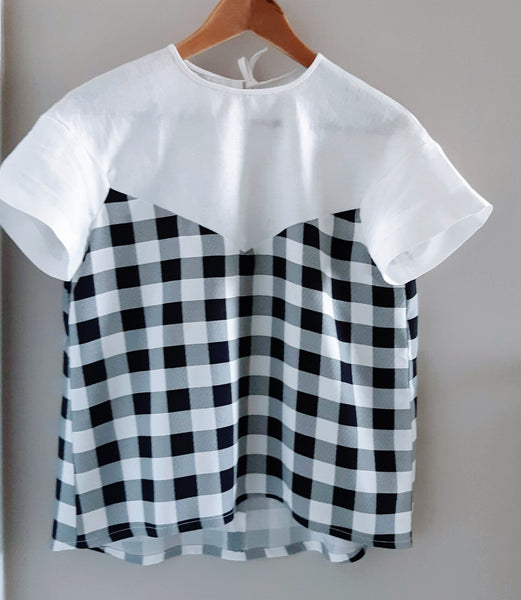
And there you have it! Your very fresh and new Willow. I used a light weight linen for the top and a rayon check for the bottom.
If you have ideas on what you'd like to see for pattern manipulation, please give me a shout!
Stay safe and stay creative.
XO~Joanna